Epoxy flake kit tutorial!

Counter top epoxy tutorial!

applying our benchtop sealer!

How to/Gallery

Epoxy countertop kit instructions.

Our epoxy countertop kits are very easy to do and you can achieve great results but you must follow all of the listed steps below very carefully. We also have a video tutorial on our YouTube channel, it is recommended that you watch that first before reading these instructions. As always, if you need any help just reach out VIA our website or social media pages.


Preparation

You can go over stone, wood and laminate with our countertop kits.

• You want to degrease the area being coated and wipe clean. Then you want to use 80 grit sandpaper to scuff up the surface for the epoxy to bond. If your benchtop/table has any sharp edges you will need to round them off using 80 grit sandpaper.

• Fill any joins with a 2 part filler from your local hardware store, once it has dried sand the repair flat with 80 grit sandpaper.

• Then you can wash your area down with water and dry with a towel.

• Then do a final clean using our isopropyl alcohol and a cloth(included in your kit)

Masking up

This step is very important! Epoxy can be very difficult to remove once dried! So take your time masking off the area very carefully.

• Make sure to masking tape plastic on any surrounding areas including the-floor.


Primer

Now that you have protected all the surrounding areas it is time for the primer. You want to roll this out thin and backroll to leave a thin even coating. Let this coat dry before proceeding

Masking tape barrier

• run a couple of rows of masking tape on the edge of your benchtop/table. You want it to sit up about 2cm so the epoxy won’t fall off the edge of the area. It’s recommended to use some gorilla tape as well for extra strength. Make sure to seal all the tape so you don’t have any leaks.


Mixing

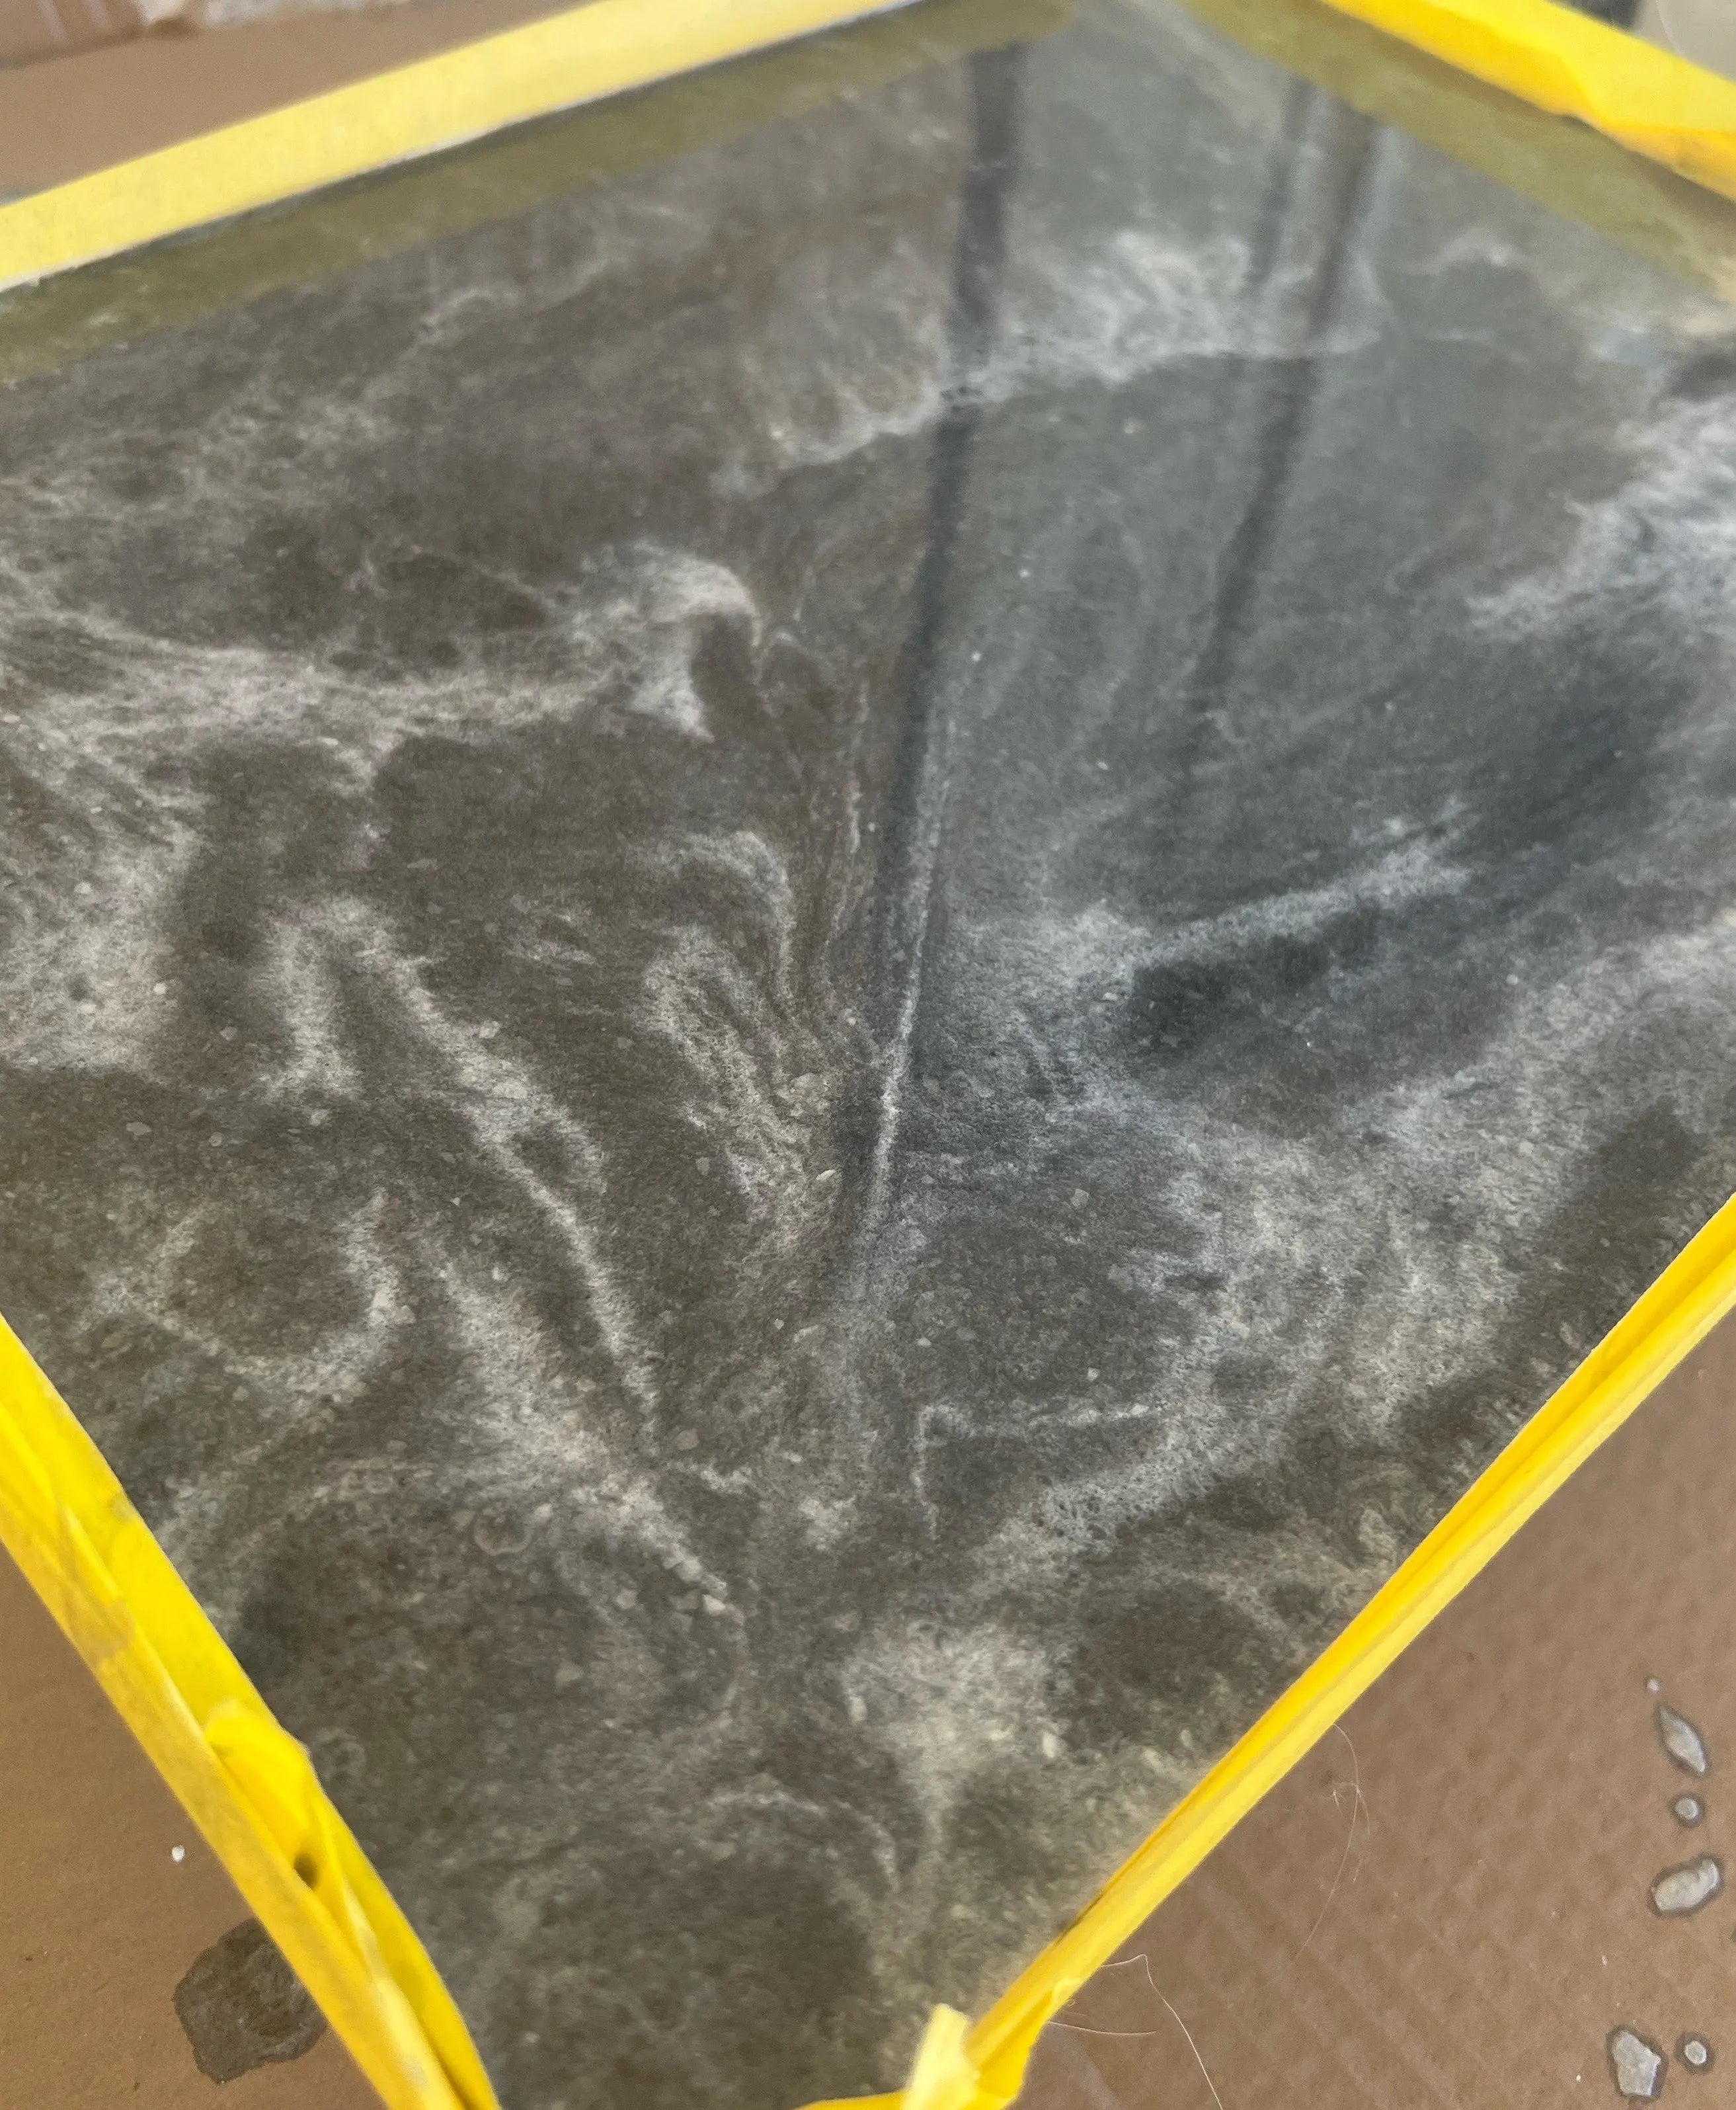
• Using a drill Mix all your metallic powder into “part a” of your epoxy.

• Choose a colour of spray paint and spray it into a cup to collect the paint in liquid form and put it to one side. (make sure it isn’t waterbased)

• Add “part b” into “part a” of the epoxy and mix thoroughly with a drill for 5 minutes.

• Now using the small buckets supplied split the mixed epoxy up roughly then add the spray paint to each bucket only using small bits at a time, then give a rough mix with a mixing stick.


Epoxy pour

Now for the fun part! There’s no wrong way to Do this! Just pour it out and let the epoxy go to work! You will have roughly 35 minutes of working time so don’t let the epoxy sit once you have mixed it.

• for best result pour thin beads out at a time and start pour from different buckets on the opposite side of the area so the colours are not too dominant on one side.

• Do beads all over the area then go back over and fill any empty areas.

• Make sure to look for any areas without epoxy carefully.

• One the area is 100% covered you want to spray the entire area with isopropyl alcohol. This will stop bubbles from appearing and give some nice effects.

• After you have finished you want to keep an eye on the area and if any bubbles appear you can spray with the isopropyl alcohol.

• If you haven’t measured your area correctly and run short with epoxy you can use a roller and use circle motions to spread the epoxy out.

This will give you a totally different look but get you out of trouble.


Pull of edges

• After roughly 1.5 hours (depending on temperature) it’s time to pull off the tape on the edges. Use your hands to rub the epoxy over the edge to help it flow. You will get some drips falling down which is fine.

• You can pull off tape around cooktops and sinks now and clean any epoxy with a cloth and isopropyl alcohol.

• Once it has stopped dripping, use a metal scrapper to scrap any drips.


Cleaning

Pull off all the tape and plastic from the cupboards and floor. Clean any drips or spills with isopropyl alcohol and a cloth. Make sure to do this before the epoxy fully cures.

Summary
There is also a option to add a top coat which will make the epoxy countertop kit more durable and withhold scratches much better.

COUNTERTOP KIT INSTRUCTIONS

Preparation is the most important step to ensure a successful and long-lasting installation.  Please take the time to read through all the steps!


Concrete Suitability


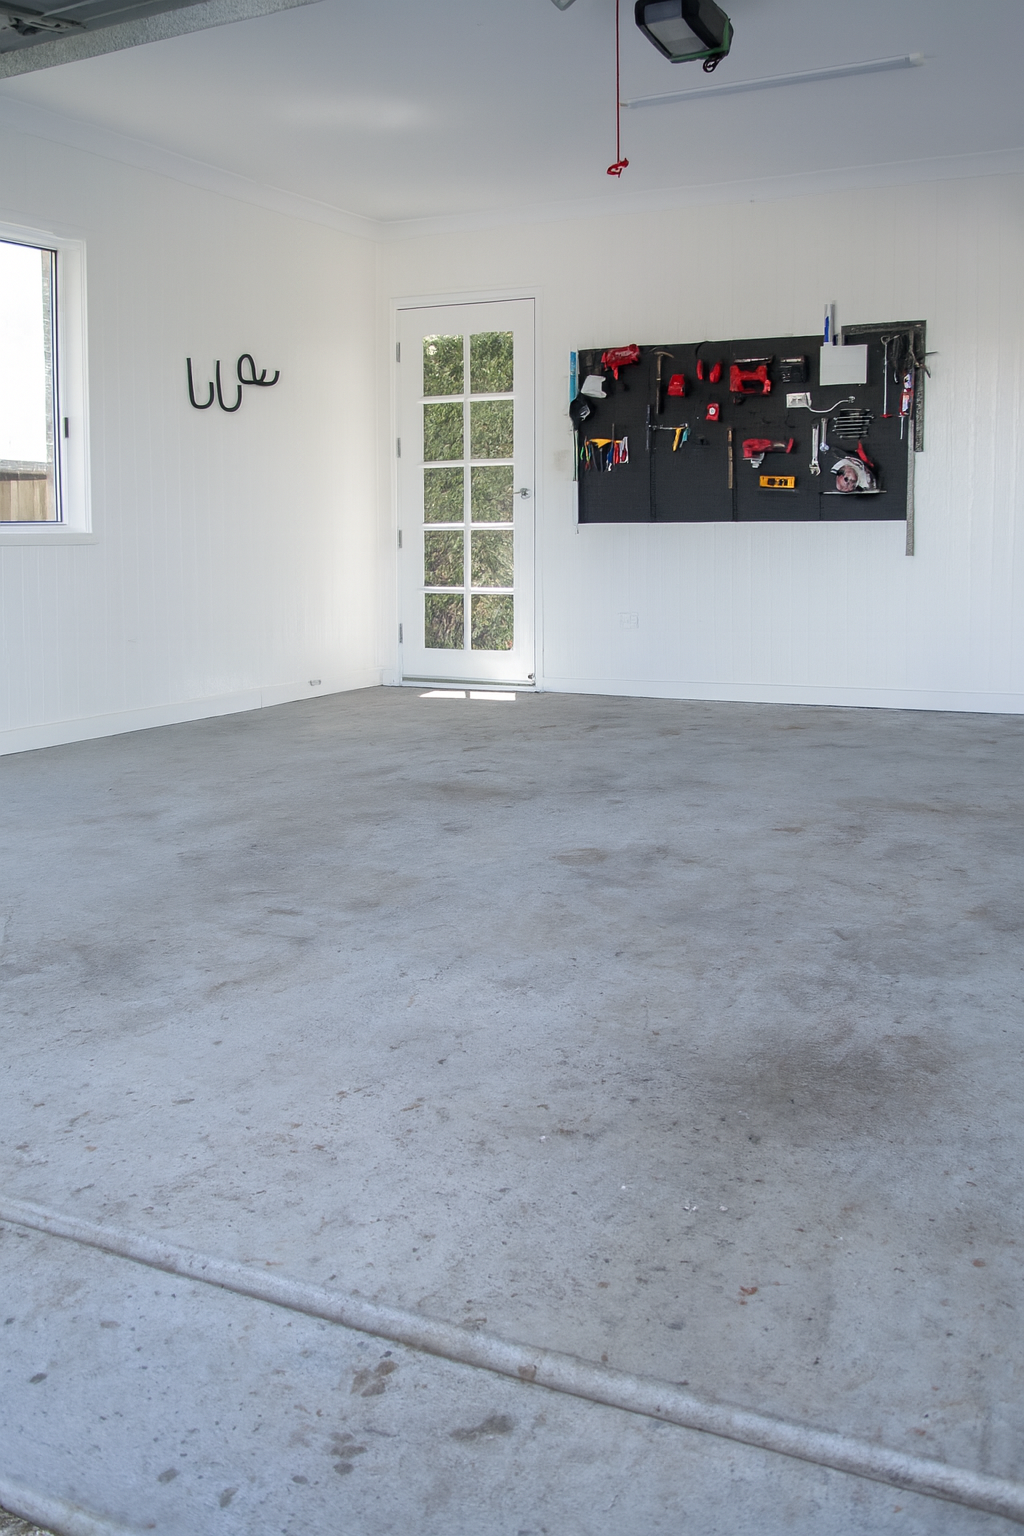
  • Make sure there has been no previous coatings applied to the concrete like paint or sealer as our product will not bond to old flaky coatings.
  • Check porosity of the concrete by filling up a cup with water and pouring it onto the concrete to make sure it soaks into the slab and doesn’t bead. Try this in a few different spots.
  • If water beads and doesn’t look porous you may need to hire a concrete grinder and diamond grind the surface. (you can call or email us for further advice on this).
  • Make sure there is no Efflorescence present. Efflorescence can cause any coating to delaminate (Peel off). Efflorescence looks like a white powdery substance on the surface of your concrete. Generally, it is a rare occurrence but if it is present we recommend not to install any coating. Contact us for further information.
  • Make sure your concrete has no rising damp issues. You can test this with a moisture meter (sold at Bunnings) or by taping a piece of plastic 30cmx30cm so that all edges are taped to the floor, then leave for 24hours. If there is moisture present under the plastic after 24hours let your slab dry out for a few more days and re-test. If moisture is present after a second test you may need to apply a moisture barrier. (Please call or email us for advice on this).


Cleaning


  • Assess your concrete and look for any contaminants, these must all be cleaned prior to coating. If there is oil present spend time pouring U-Coats Heavy Duty Degreaser and scrub vigorously with a stiff broom. Repeat until oil has gone (very important)
  • Mix Conetch solution 2 x 1L bottles per (comes with all U-coat coatings) 15 Litres of water and scrub over all of the concrete being coated with a stiff bristle broom. Please be cautious using this product. May irritate skin, use gloves and a mask.
  • Pressure clean the surface very carefully using a high-pressure cleaner (min 3000psi) to clean off dirt deep in the pores of the concrete. Smaller domestic pressure cleaners may not be sufficient, please contact your local hire store for information regarding high pressure cleaners. We suggest going over it 2-3 times and makes sure you do a final rinse to make sure that all your concrete is as clean as possible!
  • Wait a minimum of 6 hours for the slab to fully dry out before applying your first coat. Make sure all moisture has dried.

Final notes

Preparation is extremely important! If these steps aren’t followed correctly, you may have issues with delamination. Please make certain that all the concrete is porous, (not smooth and shiny) free of moisture and contamination. Grinding of concrete to ensure maximum life and endurance may be necessary. Contact your local hire store for more information on concrete grinding. Make sure to use appropriate PPE. Now move on to the fun part, Application!


Notes Before Application


  • Don’t apply in direct sunlight over 30c.
  • Don’t apply if rain is due within 24 hours.
  • Don’t close your garage door fully down until 24hours after application!
  • No Driving on coating for 7 days.
  • Don’t drag heavy objects across the floor.
  • Clean with detergent, don’t use harsh chemicals.
  • We are here to help and support your application, don’t hesitate to email or give us a call! It’s what we are passionate about!
  • We love to see pictures of your final product! Please send them through to info@u-coat.com.au

Don’t forget to like us and follow us on Facebook and Instagram.

Application Guide

PLEASE READ PREPARTION GUIDE FIRST

The U-coat coatings first coat is a 2-part water-based epoxy and the second and third coats are a 2-part high strength water based urethane. Two different liquids (Part A and Part B) need to be mixed together for the product to set. It is important to mix this correctly.

Please read through the entire application and preparation guides before beginning application.

First coat

  • Use masking tape to tape the perimeter walls for protection.
  • Shake the container labelled “Coat 1 Part A” and pour all of the contents into the empty mixing bucket provided. Then shake container labelled “Coat 1 Part B” and pour all contents into the bucket. Mix thoroughly with stirring stick for 5 minutes. Don’t be alarmed if the colour looks different to coat 2 colour, this is just a primer coat colour.
  • Pour mixed product into a roller tray.
  • Using a brush (included in our accessory pack) cut in the edges and expansion joints.
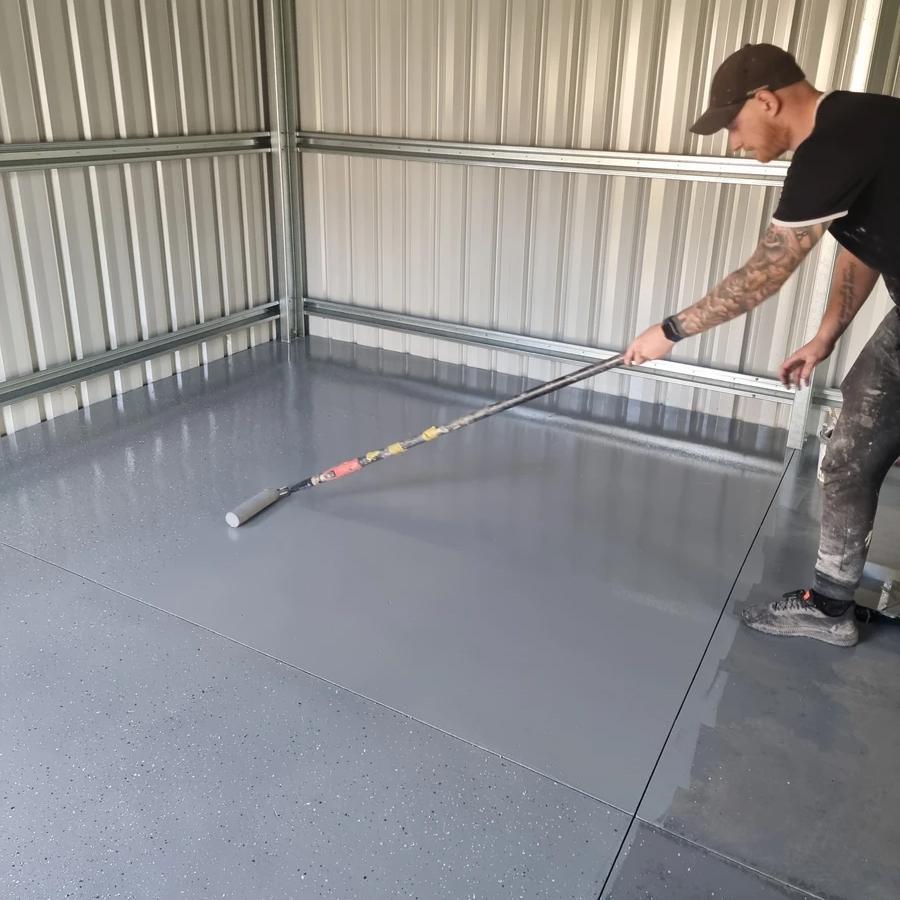
  • Then using a 10-12mm nap roller start rolling in sections. It is best to work one square section between concrete joints (expansion joints).
  • Roll the entire section then back roll lightly to eliminate roller lines.
  • Repeat this process on each square until the area is completely coated.
  • Allow at least 7 hours to dry (or touch dry) before proceeding to 2nd Make sure to wash rollers, brushes and bucket with water.
  • Once Part A and Part B have been mixed together the product has a 45 minute pot life so make sure to mix when you are ready for application.

    Second coat


    • Shake the container labelled “Coat 2 Part A” and pour all of the contents into the empty bucket provided. Then shake container labelled “Coat 2 Part B” and pour all contents into the bucket. Mix thoroughly with stirring stick provided for 5 minutes.
    • Work in sections in the same technique as the 1st
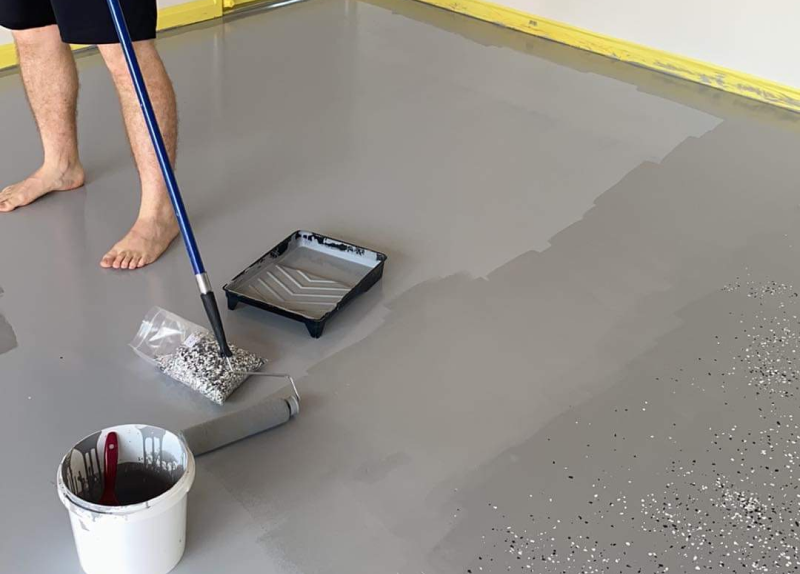
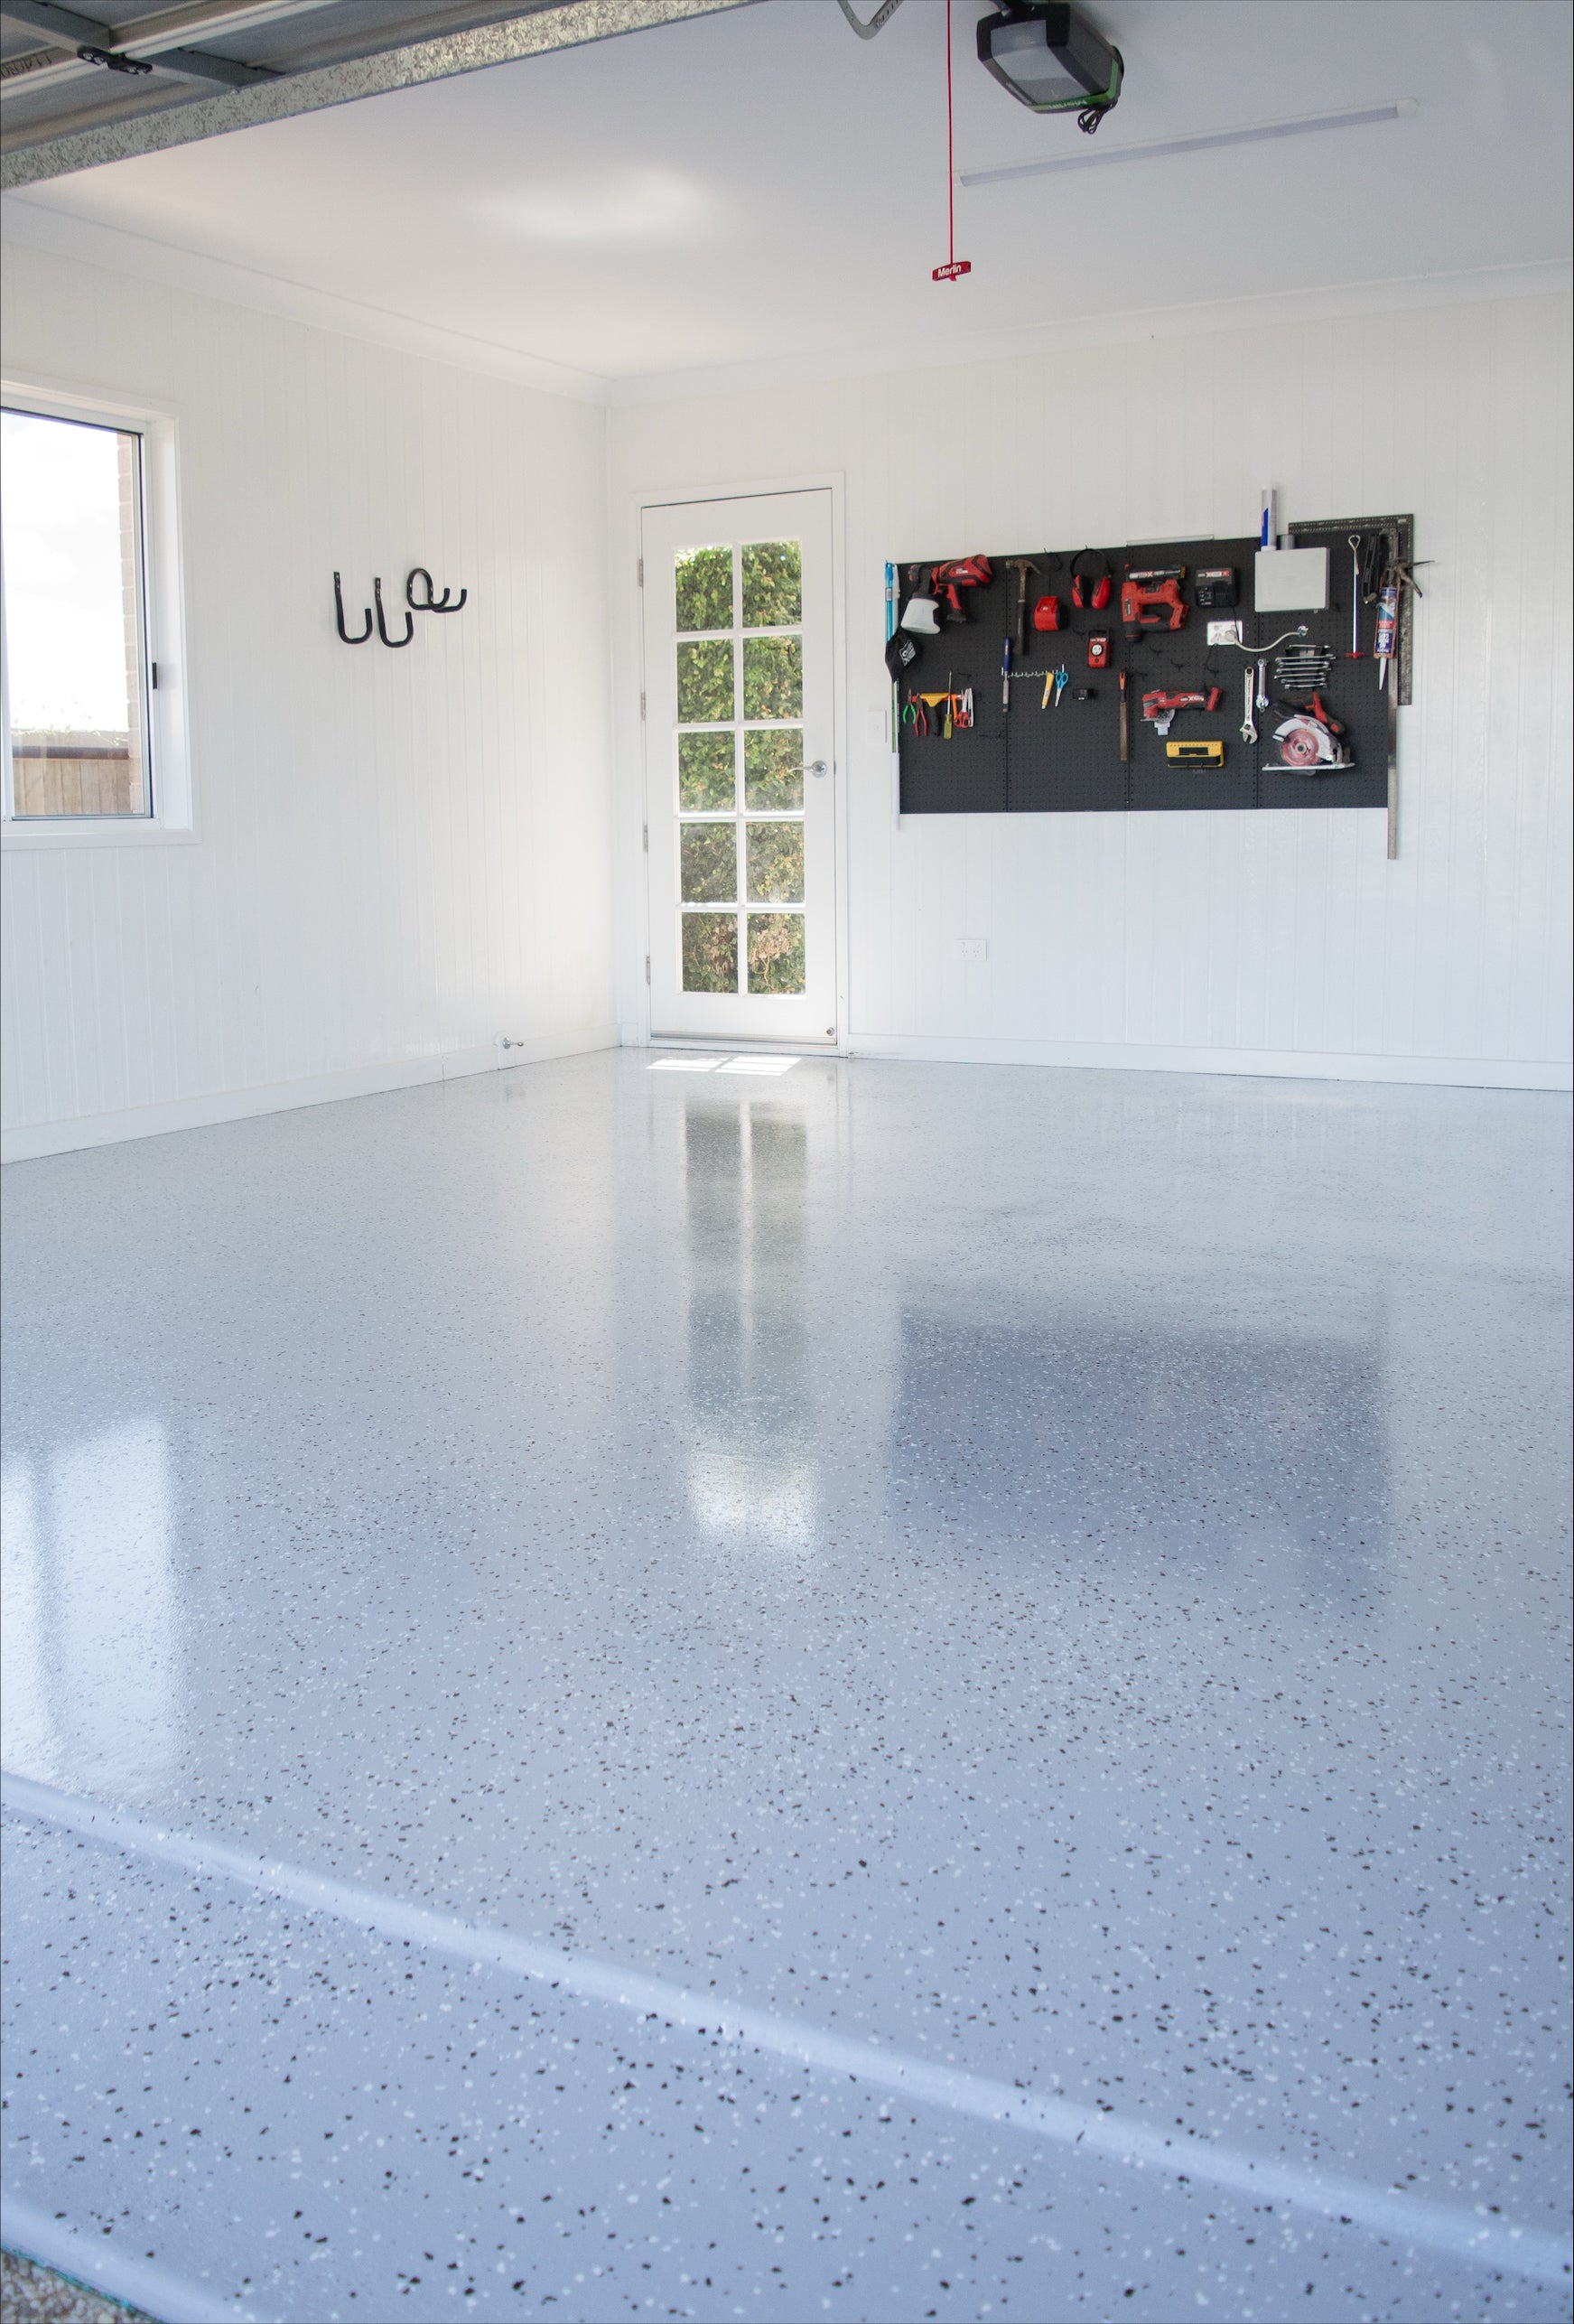
    • After each section use flakes provided and throw them in the air to distribute evenly (imagine feeding the chickens!). For best results the flakes must land into wet coating.
    • Allow at least 7 hours (or until touch dry) before applying 3rd and final coat.


    Third coat


    • Shake the container labelled “Coat 3 Part A” and pour all of the contents into the empty bucket provided. Please make sure this bucket is clean from any previous coloured coats. Then shake container labelled “Coat 3 Part B” and pour all contents into the bucket. Mix thoroughly with stirring stick provided for 5 minutes.


    • Add in the supplied glitter (optional) and mix for a further 1 min.
    • Start to coat edges with paint brush (one square at a time).
    • Using your roller paint one square at a time. (Roughly 3x3 section)
    • If using Slip reducing additive(optional) broadcast into area applied
    • Back roll until an even layer is applied.
    • Move to the next section and repeat.
    • This 3rd coat will appear milky in appearance but will dry clear. This coating is designed to minimise any roller marks once dry.


    Finished


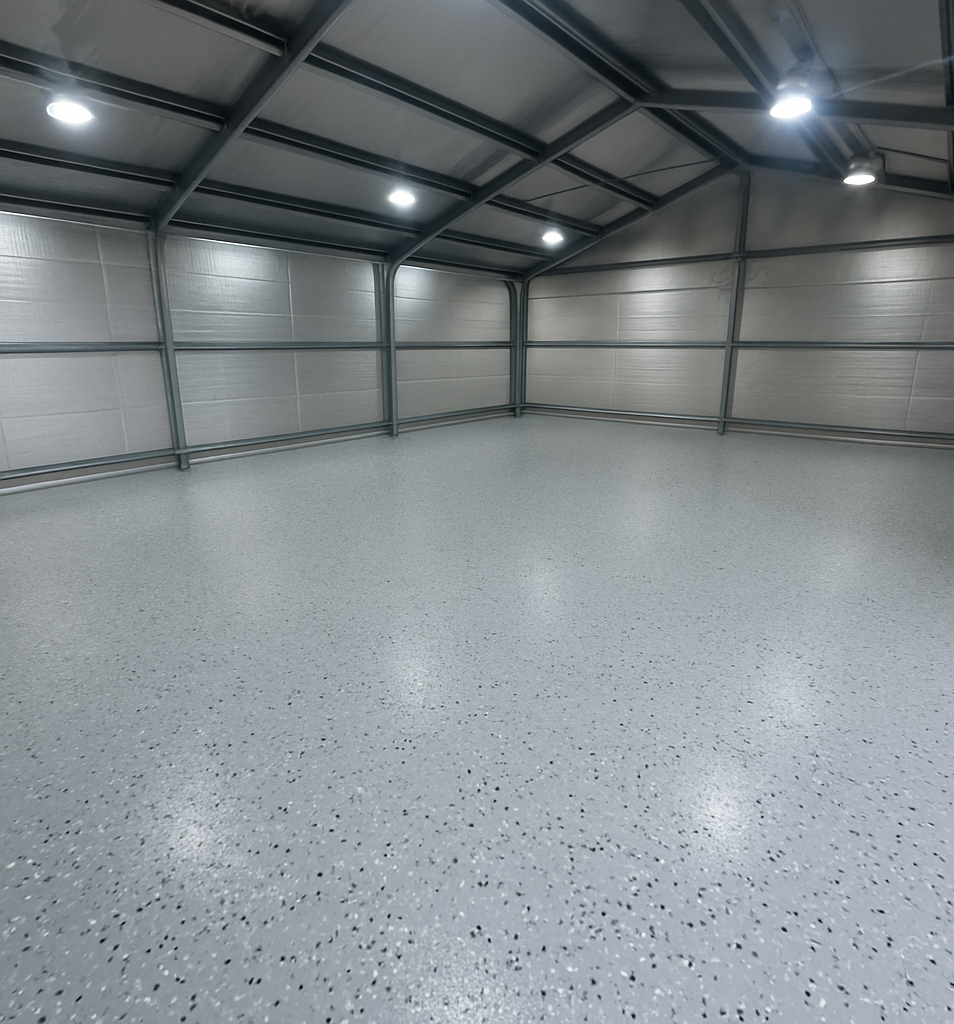
    This completes your application! Now let dry for a full 24 hours before foot traffic and 7 days for vehicle traffic.


    We hope you enjoy your new garage coating. Please rate and review us and follow us on Facebook and Instagram.