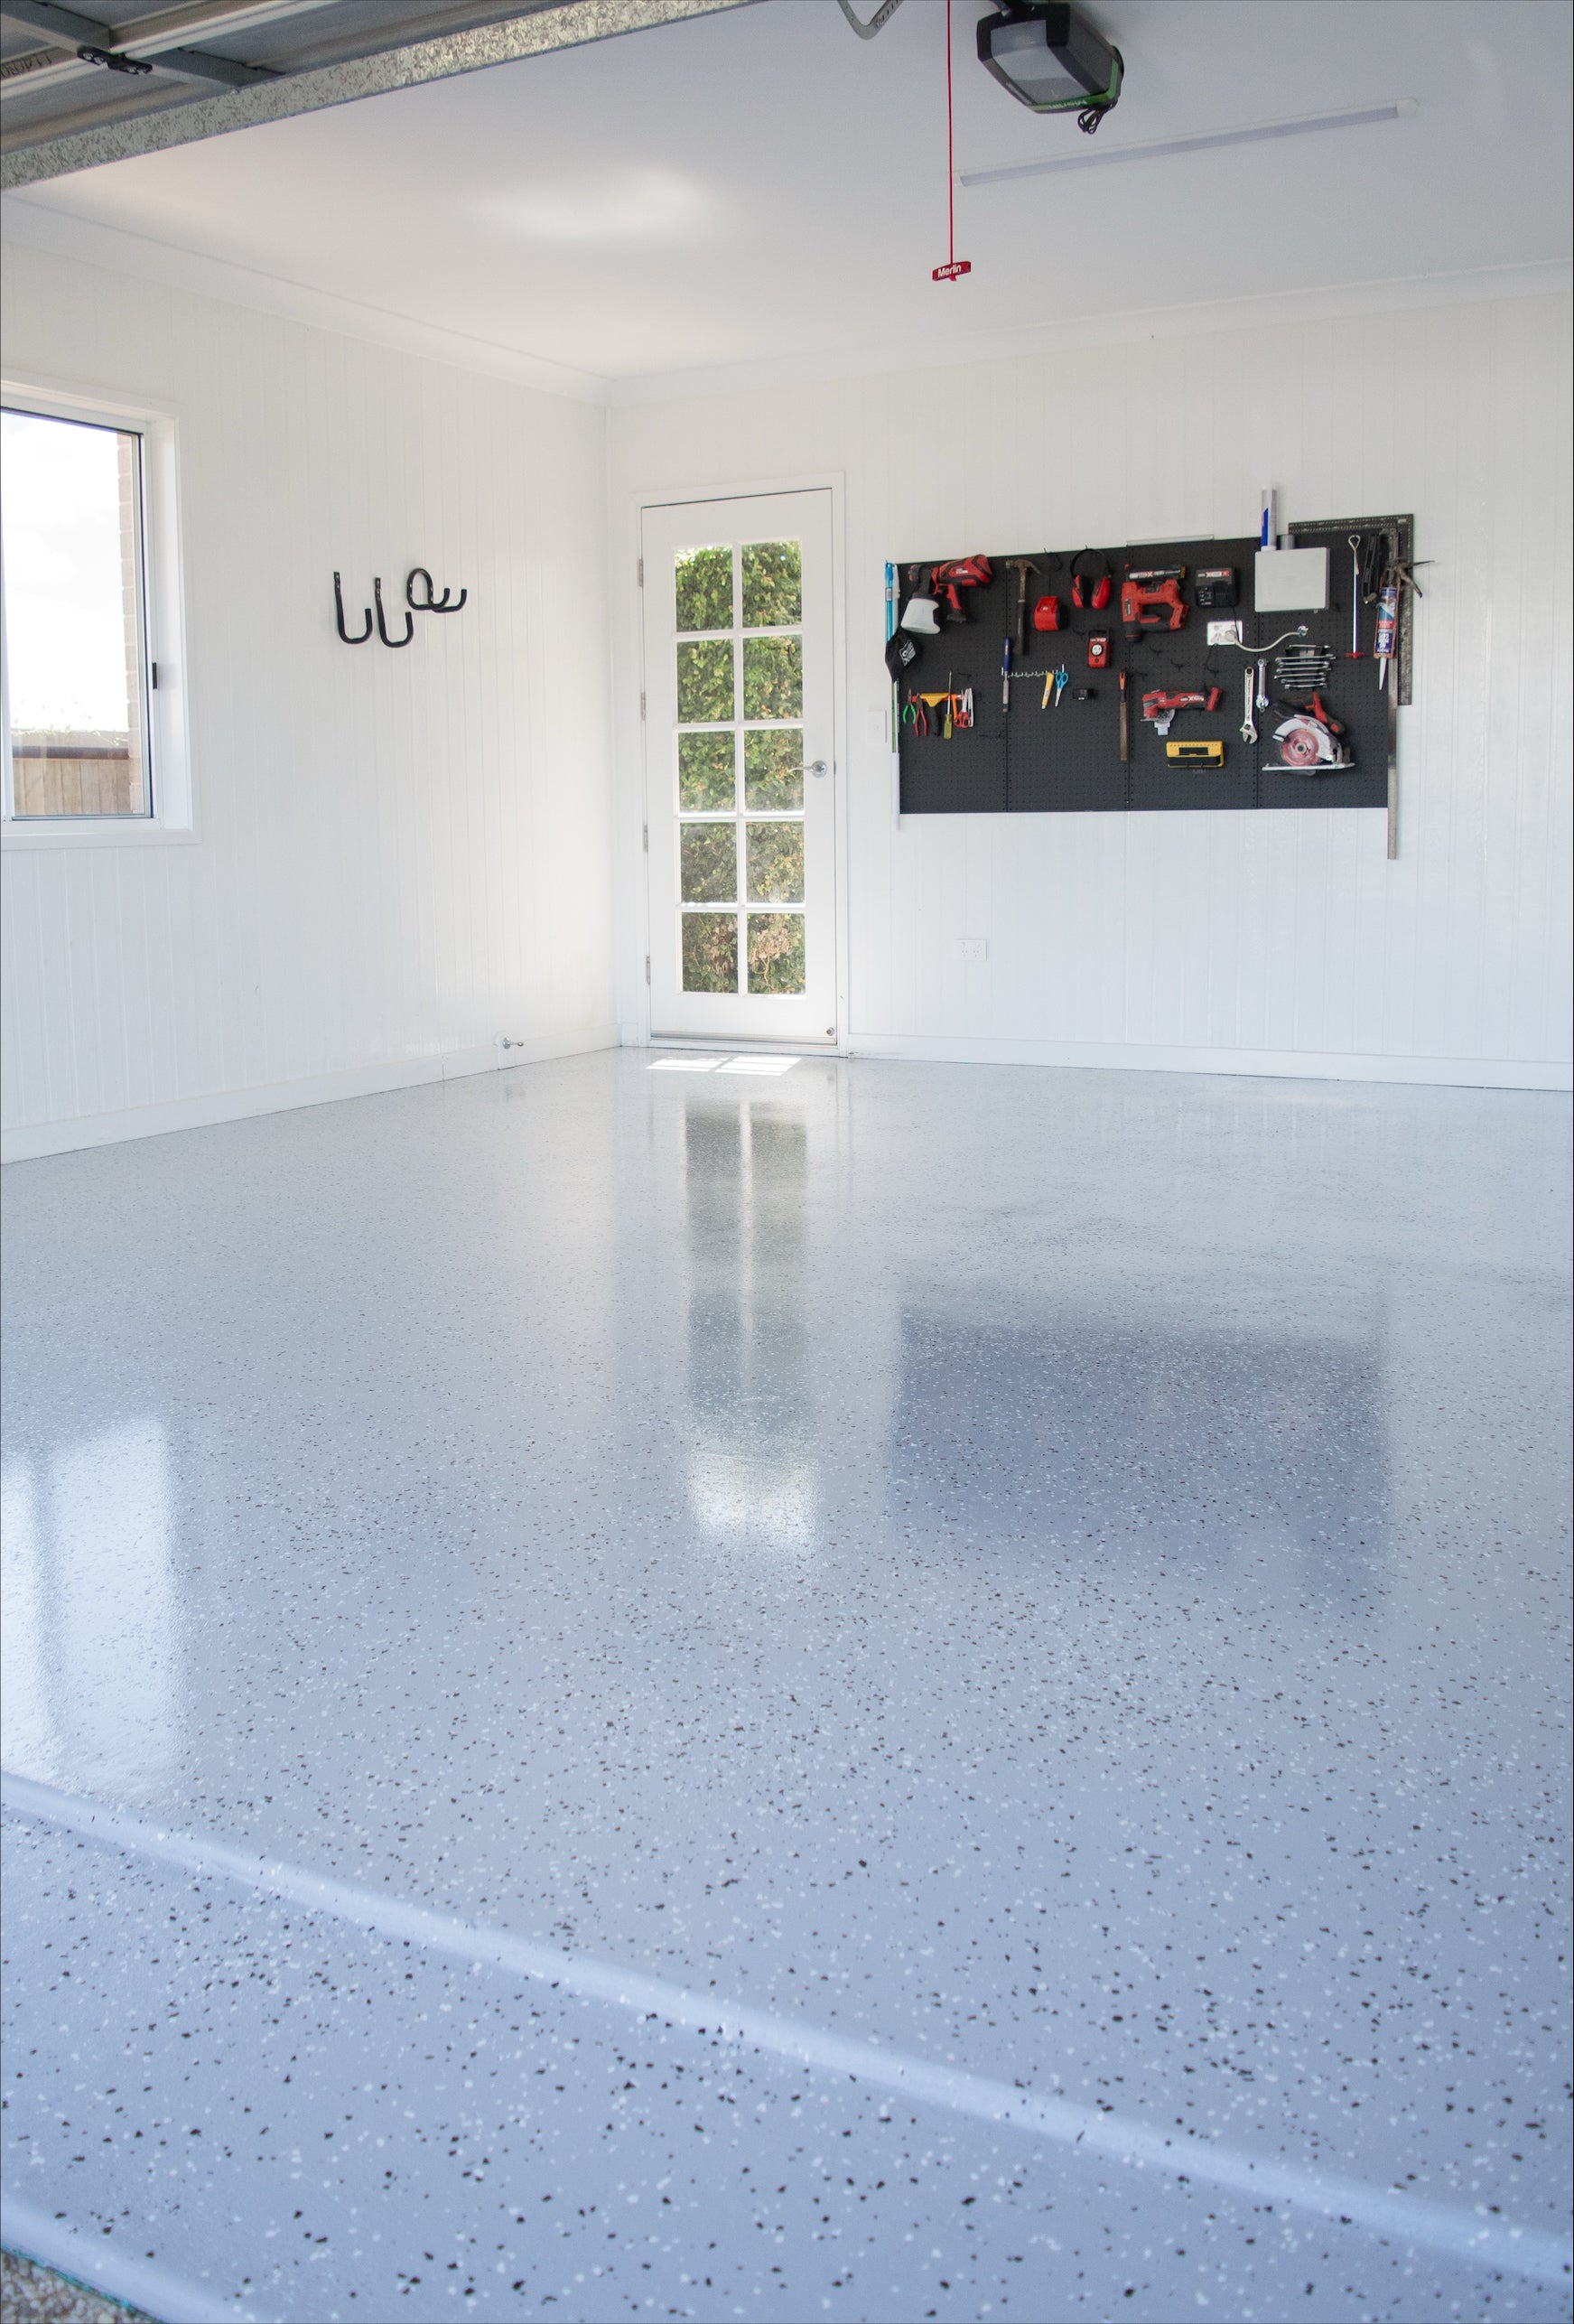
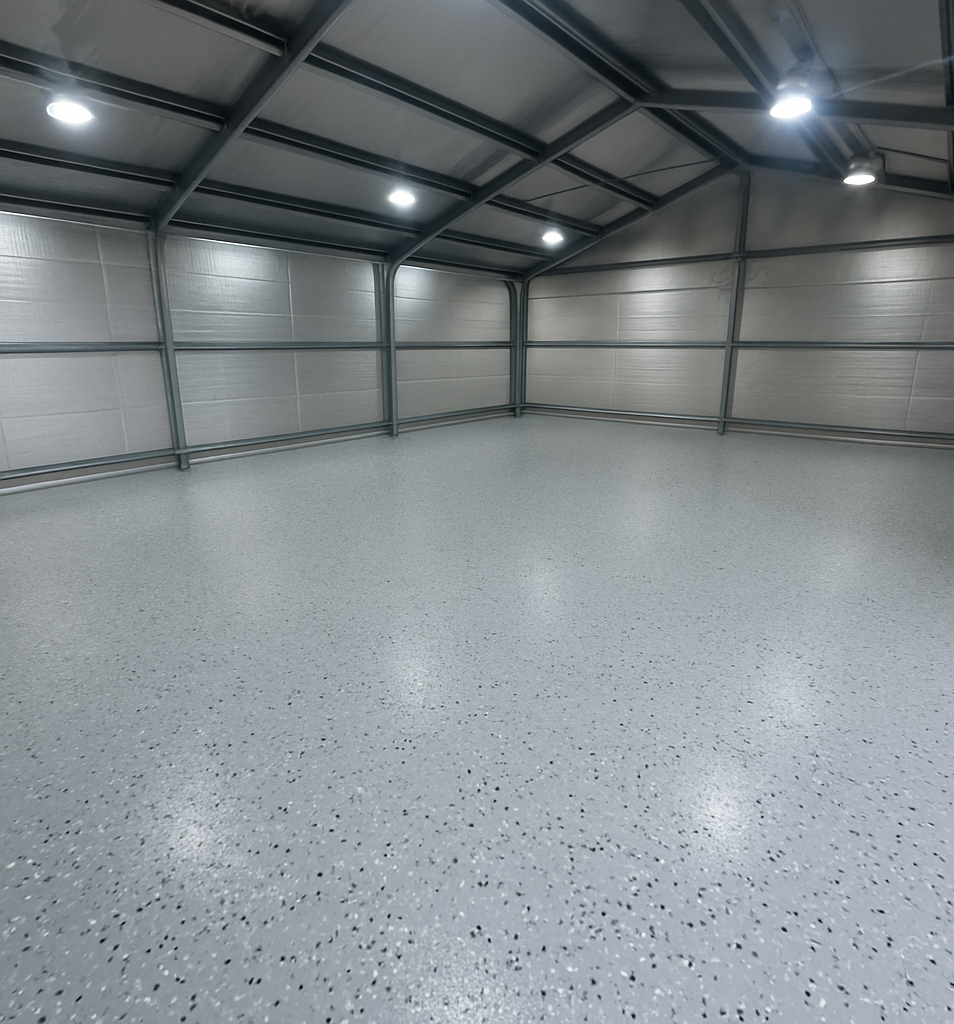
How to Use Your U-Coat Epoxy Flake Kit to transform your space
Our epoxy kits are simple to use and deliver professional results—just make sure you carefully follow each step. We recommend watching our video tutorial on YouTube before starting, and remember, we’re always available by phone, email, or social media if you need help.

Before Application
Do not rush this stage. Most coating problems are caused by poor surface preparation, moisture, contamination or applying in unsuitable weather.
Do not apply if...
Rain is expected within 24 hours
The slab is damp or has rising moisture
The surface has old paint, sealer or flaky coatings
The surface is oily, greasy or contaminated
The surface is smooth, shiny or non-porous
The slab is in direct sunlight above 30°C
Why we make these recommendations...
Water can affect cure and adhesion
Moisture can cause peeling or delamination
U-Coat will not bond properly to loose or sealed surfaces
Contamination blocks adhesion
The coating needs a porous surface to bond
High Heat can reduce working time and affect the finish

Preparation Guide
Check concrete suitability
Check for old coatings. Remove any paint, sealer, loose coating or
flaky material before applying U-Coat.
Test porosity. Pour a cup of water onto the concrete in several
areas. The water should soak in, not bead on top.
If water beads, diamond grind the surface before coating. A
non-porous surface will not bond properly.
Check for efflorescence. This looks like a white powdery substance
on the surface. If present, contact U-Coat before coating.
Check for rising damp or trapped moisture before starting.
Moisture test
You can use a moisture meter, or the simple plastic sheet test
below.
Tape a 30 cm x 30 cm piece of plastic tightly to the floor so all
edges are sealed.
Leave it in place for 12 hours.
If moisture appears under the plastic, let the slab dry for a few
more days and test again.
If moisture is still present after a second test, contact U-Coat. A
moisture barrier may be required.

Cleaning and Etching
The concrete must be clean, dry, porous and free from oil, dust, dirt, moisture and loose material before coating.
1. Remove oil and contamination
Inspect the slab carefully for oil, grease, dirt or other contamination.
If oil is present, apply U-Coat Heavy Duty Degreaser and scrub vigorously with a stiff broom.
Repeat degreasing until the oil is removed. This step is very important for adhesion.
2. Mix and apply Conetch
Mixing rate: Mix both 1 L bottles of
Conetch into 15 L of water.
Scrub the solution over all concrete being coated using a stiff bristle broom.
Wear gloves and a suitable mask. Conetch may irritate skin.
3. Pressure clean thoroughly
Pressure clean the surface
carefully using a high-pressure cleaner. Minimum 3000 psi is recommended.
Domestic pressure cleaners may
not be strong enough for some slabs.
Go over the slab 2-3 times if
needed, then complete a final rinse so the concrete is as clean as possible.
4. Let the slab dry
Allow the slab to dry for at
least 6 hours before applying the first coat.
Make sure all moisture has
dried out. Use the plastic sheet test again if unsure.
Final preparation check
Only start coating when the concrete is clean, dry, porous and free from contamination.
If the surface is smooth, shiny or questionable, grind before coating.

4. Application
First Coat (Epoxy Primer)
- Mix “Coat 1 Part A” + “Part B” thoroughly (5 mins).
- Cut in edges with brush, roll out in sections, and back-roll for even coverage.
- The primer is coloured, if this doesnt match your chosen color dont worry, its designed to help create an even toned base for coat 2.
- Allow 7 hours (or until touch dry) before proceeding.
Second Coat (Epoxy + Flakes)
- Mix “Coat 2 Part A” + “Part B” (5 mins).
- Apply in sections as before.
- While still wet, scatter flakes evenly (“feed the chickens” motion) Use spike shoes if you need to walk over wet coating to get good flake coverage but beware the surface will be slippery.
- Let dry for at least 7 hours.
Third Coat (Urethane Finish)
- Mix “Coat 3 Part A” + “Part B” (5 mins).
- Optionally add glitter or slip-resistant additive.
- Cut in edges, roll out evenly, and back-roll.
- Coat will look milky but dries clear.
Curing
- Allow 24 hours before foot traffic, 7 days before vehicle traffic.
- Avoid direct sunlight over 30°C or rain within 24 hours of application.
Aftercare
General Cleaning
Sweep or dust mop regularly to
remove dirt, sand and grit.
Use a soft microfiber mop or
auto scrubber with a pH-neutral cleaner.
Clean spills promptly to reduce
staining or chemical exposure.
Rinse thoroughly after washing
to avoid residue build-up.
Protecting the surface
Use rubber or felt pads under
furniture and equipment.
Place protective mats at entry
points to reduce dirt and grit.
Avoid dragging heavy items
across the floor.
Use non-marking wheels on
trolleys and machinery where possible.
Use protective mats or carpet squares where performance tyres are parked to reduce the risk of tyre staining
or damage.
Chemical exposure
U-Coat floors are chemical resistant, but prolonged exposure to
harsh chemicals can still damage or stain the surface. Clean spills
immediately, especially:
Battery acid.
Brake fluid.
Solvents.
Strong alkalis or acids.
Ongoing maintenance
Inspect the floor periodically
for scratches, wear or impact damage.
Reapply a protective clear topcoat
when signs of wear become noticeable in high-traffic area.
Maintain regular cleaning to
extend the life and appearance of the coating.
Clear sealer kits for
reapplying topcoats are available at www.u-coat.com.au.
Important notes
Coated floors may become
slippery when wet. Use caution and install anti-slip additives where required.
Avoid excessive heat exposure
or open flames directly on the coating.
Do not drag heavy objects
across the coating.
Clean with detergent and avoid
harsh chemicals.